
Over the first months of 2021 I could engage in a project that was already on my wishlist for several years: the construction of a permanent all-sky camera.

The requirements were the following:
- decent image quality eg as criterium resolving the Pleiades, or Alcor and Mizar
- 180° fisheye view covering almost the entire sky, without houses or trees blocking the view
- permanent construction weatherproof
- live images on the website
- “nightly” movie
- low maintenance
The objectives were:
- capture the brightest meteors eg fireballs
- capture the brightest satellites eg the ISS
- capture evidence of northern lights
- provide an unblocked view of the entire sky, to check for clouds wrt imaging sessions
- over time identify and provide evidence for new bright artificial light sources
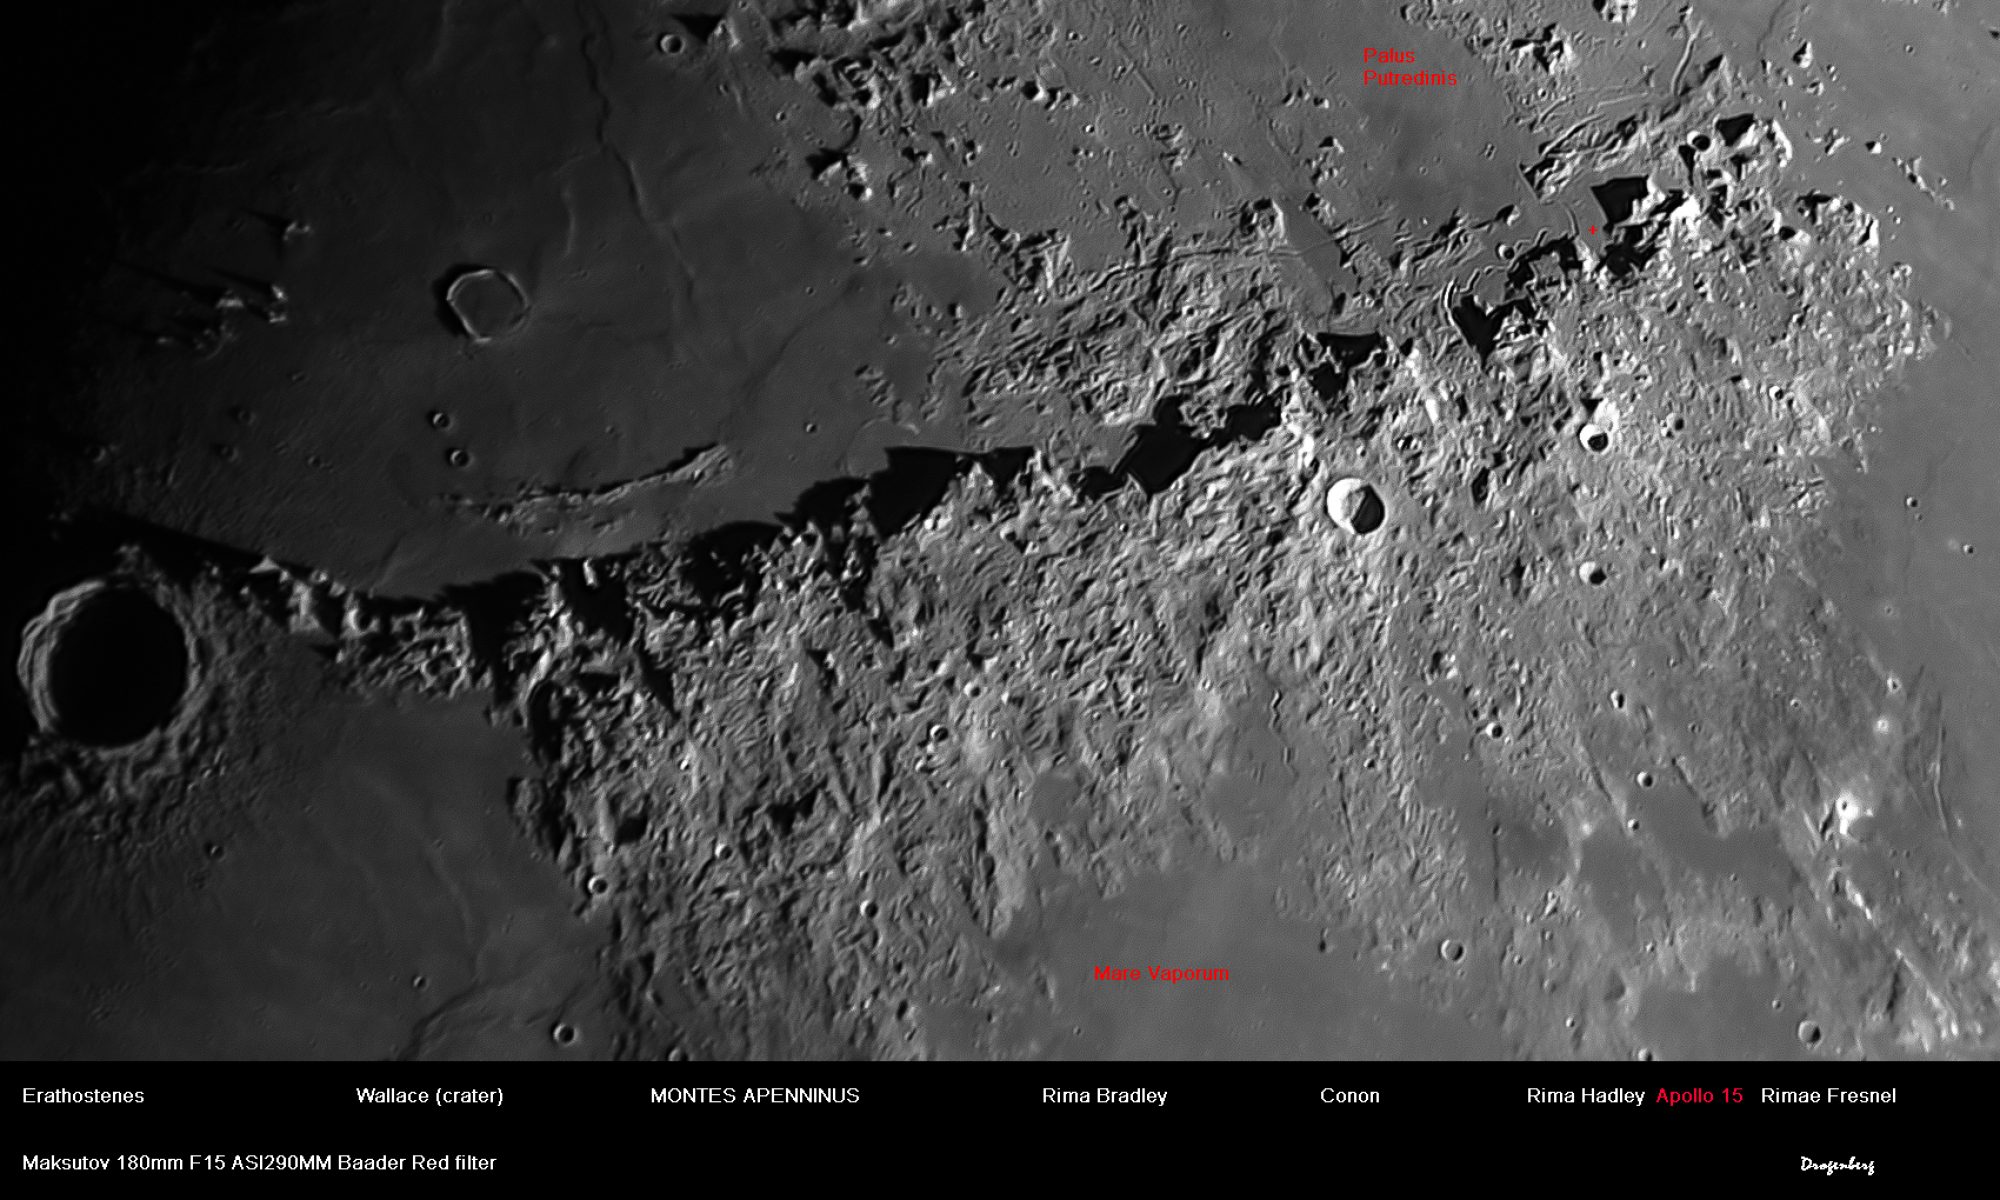
The core of that system is the camera and the lens. I have done some experimenting with an ASI290MM and also an ASI290MC, or with an ASI386 in the past. With these camera’s the standard lens included in the camera package was tested, as well as other low-light lenses purchased via AliExpress. Allthough the results were not always bad, none of these combinations provided an 180° view combined with fast optics. The ASI290MM stands out with high sensitivity and is certainly capable of capturing dimmer satellites and meteors when combined with fast optics. At longer focal lenghts, also the resolution is very good. Big drawback is that the view angle is limited and no color representation (eg for Northern Lights)

To combine resolution with a 180° view, you need a larger sensor. Candidates there were the ASI183MC and the ASI174MM, both of which have 1″ sensors.
Combined with a 2.7mm Fujinon Fisheye lens this becomes a powerful package.
There are two types of this lens, one in which the full image circle is covered by a 1″ sensor like the ASI183MC, the other type is compatible with 2/3″ and provides a full image circle that is covered by a 2/3″ sensor (see the link provided above).
Color or B/W?
For a natural image, and for northern lights I prefer a color representation. B/W gives possible more sensitivity. My current results give stars to magnitude 6 and Milky Way visibility. The brightest satellites are clearly visible. You would almost say it’s a realistic representation.
Cooled – or not cooled?
In theory the cooled version would give less noise and hence better image quality. I have found very few or even no examples on the internet where a cooled camera was used for this type of application. The exposure times are limited to 60 or even 45 seconds maximum, and the capturing software is also able to substract a dark frame. Considering these points, and adding the increased complexity of construction, I went for the non-cooled option. Complexity could come from icing over the sensor etc.
Box & dome
The weatherproof body and the acryl dome were ordered online:
Weatherproof box size 160mm square, hight 90mm. The ABS plastic turned out to be very sturdy, also the construction was very good. There was a seem provided that you can put in between the two parts of the box to make it weatherproof. One point of attention is that the bolts were not made of stainless steel. So with a bit of rain corrosion kicked in. For the final mounting I covered the entire box in aluminum tape. That is really required to protect the plastic from aging and become brittle under the sun, but it also covered up the bolts so they would not corrode.
Optical dome 110mm This dome is very sturdy with a thickness of 5mm; it is actually intended for underwater ROV. A seperate aluminum ring can be purchased also to retain the dome and fix it to the box. A rubber O-ring will seal it waterproof. Because it was not clear if the standard O-ring that comes with the dome was UV resistent, I bought a seperate O-ring just to be sure. Also a second spare dome was purchased as a reserve. The expectation is that the Acryl will fade over the years under the sunlight. Having an identical spare would provide with an easy swap. The inside of the dome was painted black.

Dew heating
To combat dew, resistors were positioned on the top of the box, inside the dome. The leads of the resistors pinned through the box’s surface and were soldered serially together. With DC power of about 9V they generate 6 watt of heat. The resistor type was slow, with sufficient mass an heat capacity. Thanks to Capella-member Jean Lammertyn for the design & support of the resistors.

Switching the resistors is done with an USB switch.
The AllSkEye software allows triggers, to switch on the heating the trigger is “Humidity > 60 and Temperature <15”. AllSkeye retrieves weather data via an API for this geographical location, including Humidity and Temperature. When the boolean expression is evaluated “TRUE” (the evaluation happens at an predefined interval, in this case every 10 minutes), it will launch an MS-DOS command. That command is provided with the switch and will close or will open the NO/NC connectors on the switch.
Software and Hardware
The system runs AllSkEye software (Windows), developed by Michael Poelzl. Donations above 20 GBP will allow you an PRO account with some extra features. Please take a look at the website to see all possibilities.
A second-hand Dell Optiplex i5 8 MB RAM with an 500Gb SSD serves as hardware platform. It is a bit overkill, but runs excellent. These desktops are known for stability and errorfree operation over lenght of time.
The AllskEye software handles easily on this configuration. I access this PC with AnyDesk, as it is located somewhere on the attic. This makes easy access possible with whichever laptop, from anywhere.
https://www.sos-childrensvillages.org/
Filters
The original dust filter in the ASI camera was replaced with an IR-cut ASI window. In addition a Baader contrast booster is added 1 1/4″. The resulting image is well balanced.
Positioning
The first months all activity was around testing the setup, so positioning was not critical. In June 2021 I could finally move the Camera to it’s final position. Located on a 3 meter long aluminum pole, it is fixed on a rooftip to overlook all roofs and trees. Estimated about 10 meters above the ground level. First images are promising. To make most use of this high position, also the TESS SQM Meter was attached next to the camera. This way the device can make measurements without interference of ground light sources.


Settings
Settings are still a struggle. The camera has with Gain 0 and exposure time 0 still too bright images in daylight. I start to believe this is unavoidable.
At night the maximum exposure is 60 seconds, the gain is set to 150.

Part list
ASI183MC camera (not cooled)
160x160x90 outdoor ABD plastic box
aluminum pole diameter 36mm + soldered platform
2 wall fixation brackets for pole
5m USB3 cable
2 short USB 3 cables ( from hub to camera and from hub to switch)
5m 12V power cable
6 resistors 6W 12V
USB Switch one channel
Aluminum self-adhesive tape (protects the plastic box for UV)
110mm ROV Dome Acryl
1 retention ring 110mm for dome aluminum
1 rubber ring between dome and box
1 USB hub
1 power adapter 9V DC
Black spray paint for the aluminimu pole and inside of the box
small parts: duct tape, bolts & nuts (stainless)
Discover more from DROGENBERG
Subscribe to get the latest posts sent to your email.